Testing Station 2
 | |
| Testing Station 2 | |
|---|---|
| Type | Testing Station |
| Zone | Hagga Basin South |
| Kanly (PvE/PvP/Safe) | PvE |
| NPCs Type | Scavengers x Y |
| Available Loot | |
| Identification Bands | Orange, Blue, Purple |
Testing Station 2 is a medium Testing Station found in Hagga Basin South, with standard eco lab loot. Originally this was a Botanical testing station, with the purpose of [PURPOSE]. Since the testing station was long abandoned by the botanists, it has been used as a shelter for various Scavenger groups. At one point, the scavengers accidentally unleashed a Tleilaxu bio agent, wreaking havoc for the inhabitants. The final boss is a particularly brutish subject of the bio agent, equipped with a Shield.


Location
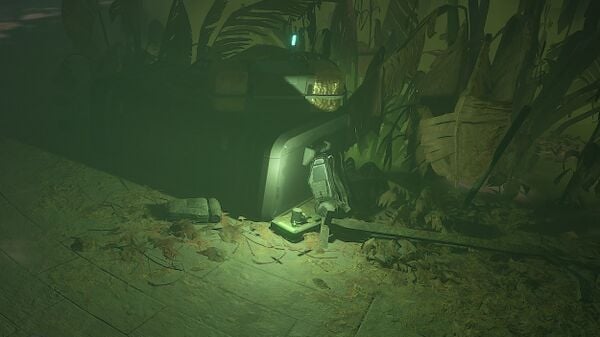
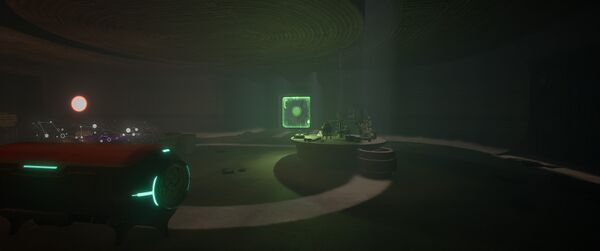
Scavengers had set up camp outside of the testing station, however it has since been deserted. Various debris of machinery and vehicles lies scattered outside, and several corpses line the entrance.
Contracts
The following Contracts are linked to Testing Station 2:
- [TODO - ADD CONTRACTS]
Loot
Imperial Testing Station 163 is a spawn location for a Copper Tier loot chest which contains the following unique schematics.
Lore
The original testing station's purpose to [PURPOSE] has long since been abandoned as it has been home to many generations of scavengers stashing and sorting their loot. At one point, a pair of scavengers, Collins and Omar, returned from a scavenging trek (possibly around Broken Stone Station) with a Tleilaxu satchel of mysterious vials and opened them, not knowing they contained a bio agent which subsequently infected the scavengers.
The bio agent appears to induce paranoia and hallucinations - driving many victims violent and attacking other scavengers. The testing station is now littered with the bodies of it's former inhabitants who were either killed by the bio agent or mutilated by the infected.
The Tleilaxu are aware of the vials and have been issuing contracts for their return to Master Bijaz
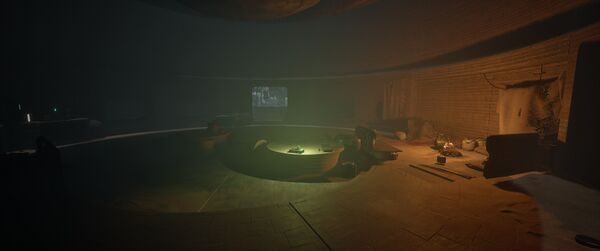
Solido Projection
Welcome to Desert Botanical Testing Station Number #2.
I am the station supervisor, Dr. Romil Greer.
The ultimate mission of these stations is to find or engineer botanical species capable of thriving in the extremely arid conditions of Arrakis.
A true challenge as I'm sure any visitor who has traveled through the barren rocks and sand above will agree.
Our first task has been the installation and testing of windtrap units, capable of reclaiming moisture from the atmosphere.
I'm pleased to report complete success, both with the installation and functioning of these devices.
The thriving vegetation you will find withing these halls is a testament to the success of this technology.
Recorders
Scavengers have left several recorders around the facility:
Tape 1

The first tape is at the top of the stairs near the entrance.
 Collins has been acting real strange since finding that corpse with the Tleilaxu satchel.
 I don't trust him. Keep an eye out next time you're out on a salvage run. If he starts acting weird, dart him!
Tape 2

The second tape is on the side of an early round room.
 I see... I thought I could trust Druse, but I know now that he's part of the plot. Eh?
 I heard the worms out in the desert whispering to him last night - and the bastard whispered back!
 He did, he did, he did... They're all in league against me.
 All of them!
Tape 3

The third tape is on the left in the next room, next to a few mutilated corpses
 Who you leaving these messages for, eh?
 It's for the worms, innit? Yeah, the worms!
 Oh, yeah. Your belly, it was full of worms... big red, ropey worms.
 But I let 'em out! Didn't I?
Tape 4

The fourth tape is on a table in a side loot room.
 DON'T SLEEP! THAT'S WHEN THEY COME FOR YOU!
 Low on darts.
 DON'T SLEEP! THEY'RE WATCHING!
 Find a knife! Or maybe a hammer? Either would be good, but both is better.
 JUST DON'T SLEEP! DON'T SLEEP! DON'T SLEEP!
Tape 5

The fifth tape is in the lower level below the previous loot room, in a dark area.
 Beneath the hill where the fox runs lightly,
 A dappled sun shines brightly... where the fox runs lightly...
 You can't hide from me little bird! Where are you?
 Beneath the hill in the fennel break... I spy my love... who can not wake...
 Go away! GO AWAY!
 Ah, there's the little bird! Gotcha!
Tape 6

The sixth tape is in the final boss room, next to the Mysterious Vials, not left by a scavenger, but 'UNKNOWN'. Likely a Tleilaxu agent.
 Once the Beast has made his selection, return the remaining items to Bijaz at once.
 Exercise all due caution in the handling of these items, as the bio-agents contained within are unstable and may prove extremely hazardous.
Tape 7

The seventh tape is in the final boss room. Possibly left by the boss himself.
 Yeah, Yeah, Yeah, Yes, Yes... so then he comes in here saying "Hey, Boss, what's that weird smell?" That weird smell, just like that he does! Just like that, yeah!
 An' then he says "What's wrong with the plants in here? They look sick.
 Maybe we should trim 'em back". That's what he said! He said that! Those exact words!
 That's what he said! He said trim 'em back! TRIM 'EM BACK! Oh yeah, yeah!
 So you know what I did, you know what i did?
 I trimmed HIM back. I trimmed him back REAL good!
Tape 8

The eighth tape is in the loot room after the final boss. It appears to be left by an earlier scavenger before things went to pot.
 Collins and Omar, from Broken Land trek: Two dunemen stillsuits - full of holes, stained, sun-bleached - junked.
 One Atreides House Trooper rucksack - serviceable - Omar will keep.
 One Tleilaxu made satchel with several vials - opened a vial but it was empty, smelled bad - junked
 Three thumpers - fair to poor condition - sell in Windsack.
Guide
Imperial Testing Station #2 has a quest attached to it, see Derek Chinara
As you move through the station you will encounter dead bodies on the ground or hanging, all of these can be looted and you can take their blood if you have the required tools
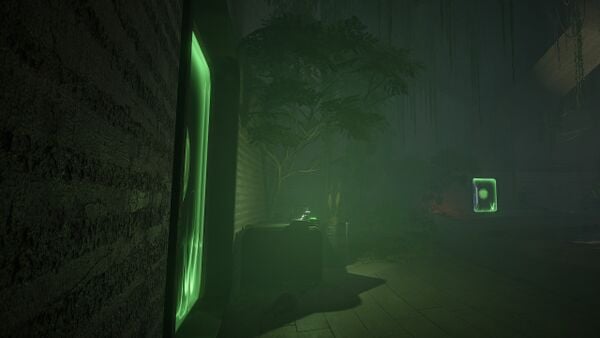
You will encounter "Penta Shields" all of these require a key, keys can be found within the station
-

Hanging Bodies can be looted
-

Penta Shield
-

Penta Shield and Key
-
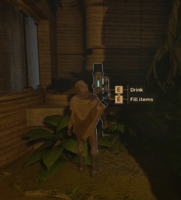
Water Station


There are water dispensers that you can use throughout the station, you can drink from them or fill a container, and some plants that you can harvest small amounts of water from if you have the required tools to harvest and store water.
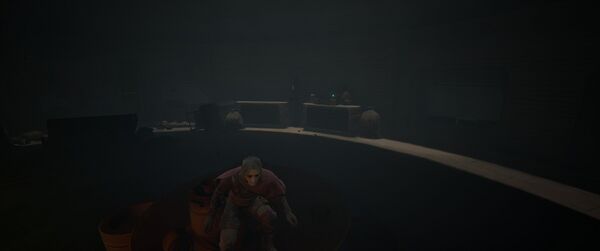
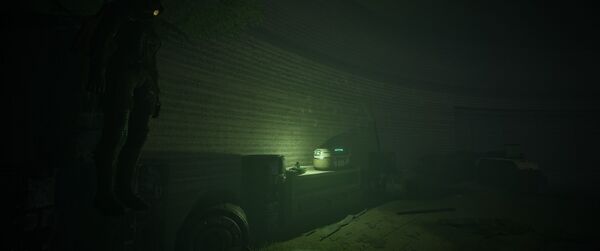
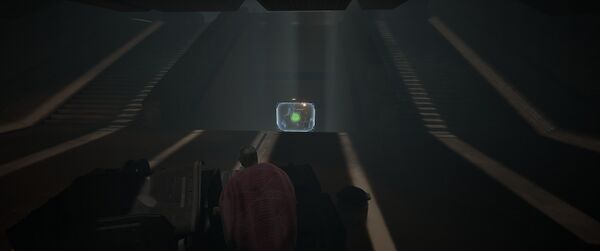
Once you enter the station you will descend unchallenged to the first penta shield, the key for the shield is sitting on the box as you enter the room. Once through the shield you will find a "Replay" recorder device that will begin the story of Imperial Testing Station #2. (The story is optional and will not make any difference to the loot gained) Descend the stairs and at the bottom to the left you will see another penta shield, you can only access this once the boss has been defeated.
Continue west into the next section, you will encounter more dead bodies but will be unchallenged. As you go up the first set of steps, to your left you will see a water dispenser, be on the lookout for these throughout the station, dehydration is still an enemy here.
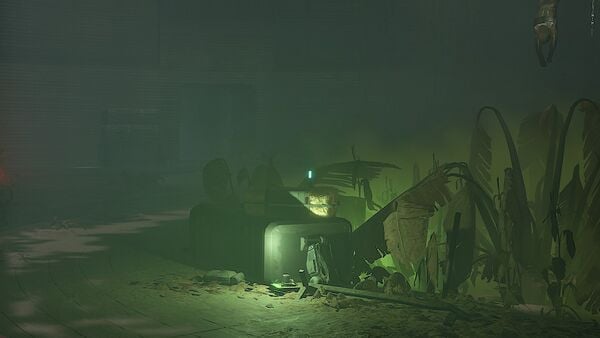
Ahead you will see a red "Solido Projection" of Doctor Ronald Grier, the station supervisor. To the left of the projection is where you will start to encounter enemies, there are also broken windows leading into greenhouse sections, some of these have loot cases
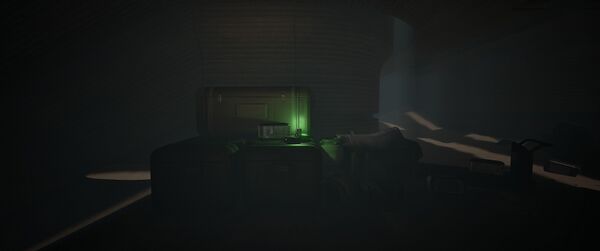
Directly west of the projection is another penta shield, this is where you will exit once you defeat the boss
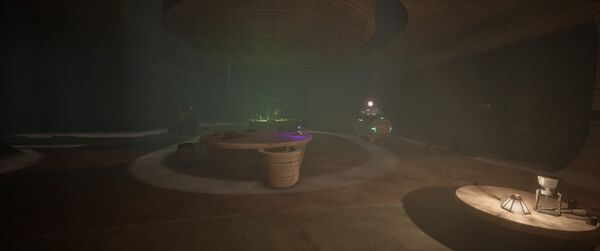
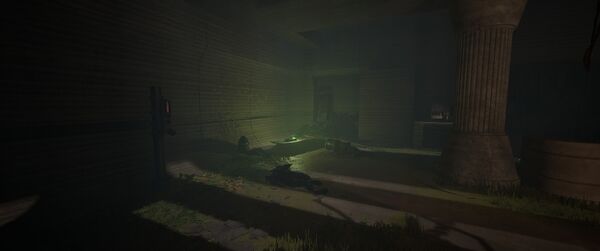
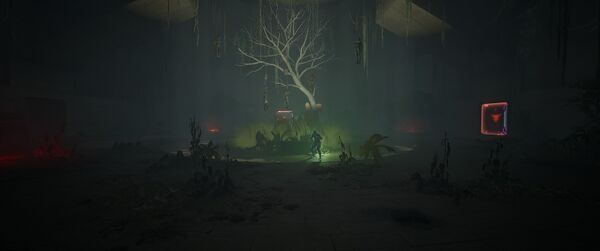
Head south from the projection, in the next room you will encounter a number of enemies, once the area is clear and/or looted head west into the room with the big tree, once clear you can keep west into a room with loot, then descend the stairs to the next area, clear this and head north, as you come into the next area stairs to the west will lead you to another water dispenser and the penta shield key that will allow access to the boss.
As you come back up the stairs you will be facing east, ahead on the wall you will see a yellow light, this is a handle to open the wall/door behind it, this will give you another room to loot. Once complete head back out and head north toward the last penta shield.
Once you cross this shield you will be attacked by the boss, he is a melee fighter and has a shield, he's fast and can hit hard and stun you, use your skill line perks, the mentat "Sentinel" cannon works very well here, remember the slow blade beats the shield.
Once defeated you will have access to a loot room and an exit that will bring you back to the projection, back track from there to the last loot room at the bottom of the stairs where you first entered, the penta shield will now be accessible to you.
Gallery
-
ID Band 1
-
ID Band 2
-
ID Band 3
-
Scrap Mettle: Testing Limits
-

Minimic Film Recovery
-
Vial Retrieval: Do Not Open
-
Shigawire Recorder 1
-

Shigawire Recorder 2
-
Shigawire Recorder 3
-
Shigawire Recorder 4
-
Shigawire Recorder 5
-
Shigawire Recorder 6
-
Shigawire Recorder 7
-
Shigawire Recorder 8
-

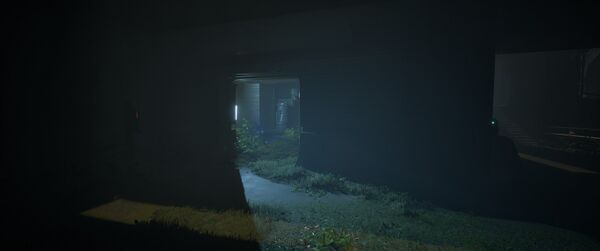
Secret Entrance
-
Miniboss Arena
-

Constellation Chest
-
Extra Loot Room


